How to Sign In with Google in React Native

Are you developing a React Native app and looking to simplify the login process for your users? I was in the exact same boat recently.
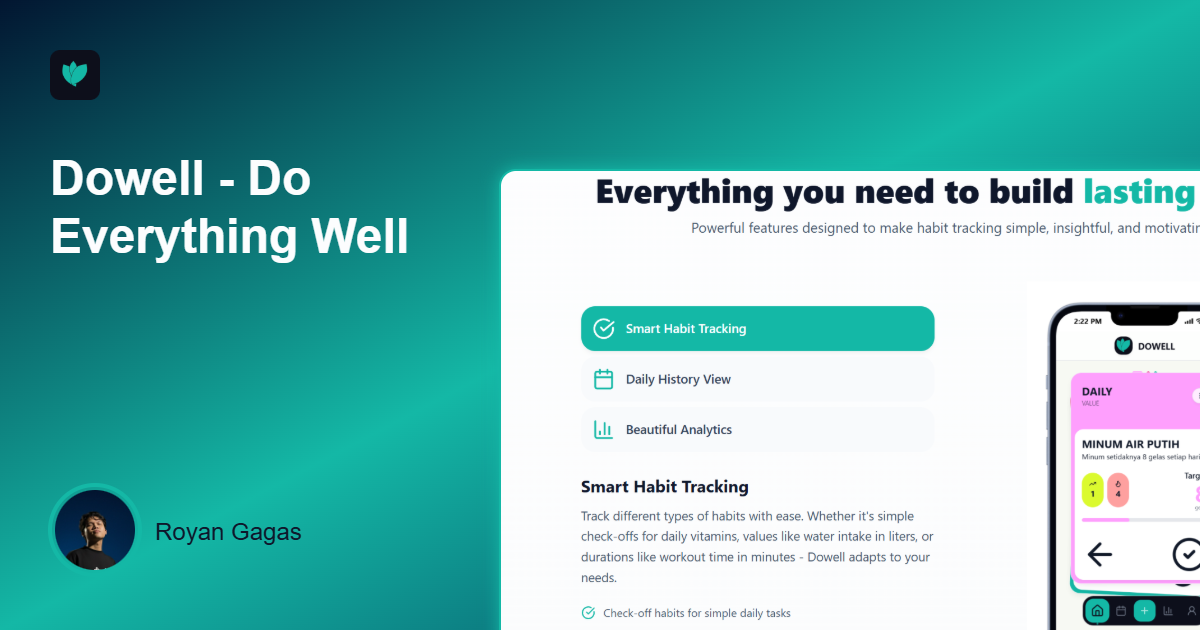
The story behind this post begins with my web project, Dowell, a habit tracker app. After the web version was up and running, the next logical step was to bring it to mobile. I chose React Native for the development.

However, one of the first challenges I faced was:
"What's the best way to implement Google login in React Native?"
After a bit of confusion and research, I finally found an effective workflow. In this post, I want to share the journey and the solution I discovered, step by step, so you can easily integrate it too.
Why Google Sign-In?
Google Sign-In offers a seamless login experience for users, as most of them already have a Google account. This reduces registration friction, improves conversion rates, and adds a layer of trust to your application.
Step 1: Add the React Native Google Sign-In Library
The first step is to add the necessary library to your React Native project. As suggested in the video, you can use react-native-google-signin . Be sure to install the public/free version if you don't require premium features. If you're using bun as your package manager, the command would be similar to:
Step 2: Prepare Your App's Screens
To manage the authentication flow, you'll need to set up two main screens:
Additionally, consider creating a custom hook for session management or a context to handle authorization throughout your application. This helps to efficiently manage the user's authentication state.
Step 3: Configure Google Sign-In
A crucial part of this process is the configuration. The video explains that you must call the GoogleSignin function from the library and configure it with:
scopes: The permissions you are requesting from the user (e.g., email, profile).webClientId: Your web client ID from the Google Cloud Console.iosClientId: Your iOS client ID from the Google Cloud Console.To get the iosClientId, you need to access the Google Cloud Console and create credentials for an iOS client. If you aren't using firebase, you can still manage your credentials there. You will also need to create two webClient entries.
Step 4: Implement the Sign-In Function
Once the configuration is complete, you can create a signIn function that will be called when the user presses the "Sign in with Google" button. The flow is as follows:
GoogleSignin.hasPlayServices() to check for the availability of Google Play Services.signIn() method from the library.AsyncStorage (similar to local storage on the web, but for mobile apps). This allows the user to remain logged in even after closing and reopening the app.GoogleSignin.signOut() after the user data is stored locally, as the Google data is temporarily saved in your application.Step 5: Integrate the Sign-In Button in Your UI
On your Sign-In screen, use the GoogleSigninButton component from the library. You can connect it to your useSession hook and call the signIn function you created on the event. When the button is clicked, a Google account pop-up will appear, and after the user selects an account, they will be successfully logged in.
Conclusion
And that's how I finally solved the Google Sign-In integration challenge for the Dowell mobile app. A process that was once confusing turned out to be manageable when broken down into clear steps. I hope this guide, based on my experience, saves you some time and helps you implement a seamless authentication process in your own React Native app.
